Skip to content

Search
Skip to product information

CROSSRC EMO X2 Parts Modify and Upgrade the Bridge Rudder Steering Gear Bracket

Regular price
$13.99
Sale price
$13.99
Regular price
About CROSSRC EMO X2 Parts: Product name:  Modify and Upgrade the Bridge Rudder Steering Gear Bracket Model: EMO X2 Brand: CROSSRC Color: black,silver Product type: RC...
Type: RC Car Parts
Vendor: CROSSRC
Sku: EMO-X2-P0017
Availability: In stock Out of stock
Color

Shipping & Returns

Svg Vector Icons : http://www.onlinewebfonts.com/icon

Free shipping and returns available on all orders!
We ship all US domestic orders within 5-10 business days!

size chart

Svg Vector Icons : http://www.onlinewebfonts.com/icon

Care Instructions

Svg Vector Icons : http://www.onlinewebfonts.com/icon

Use a soft damp cloth and a drop of mild soap to remove any haze. Air dry.

CROSSRC EMO X2 Parts Modify and Upgrade the Bridge Rudder Steering Gear Bracket-1CROSSRC EMO X2 Parts Modify and Upgrade the Bridge Rudder Steering Gear Bracket-2CROSSRC EMO X2 Parts Modify and Upgrade the Bridge Rudder Steering Gear Bracket SILVERCROSSRC EMO X2 Parts Modify and Upgrade the Bridge Rudder Steering Gear Bracket BLACK

About CROSSRC EMO X2 Parts:

  • Product name:  Modify and Upgrade the Bridge Rudder Steering Gear Bracket
  • Model: EMO X2
  • Brand: CROSSRC
  • Color: black,silver
  • Product type: RC Parts
  • Origin: Mainland China
  • Product quantity: 1 set

What are the characteristics of CROSSRC EMO X2 parts?

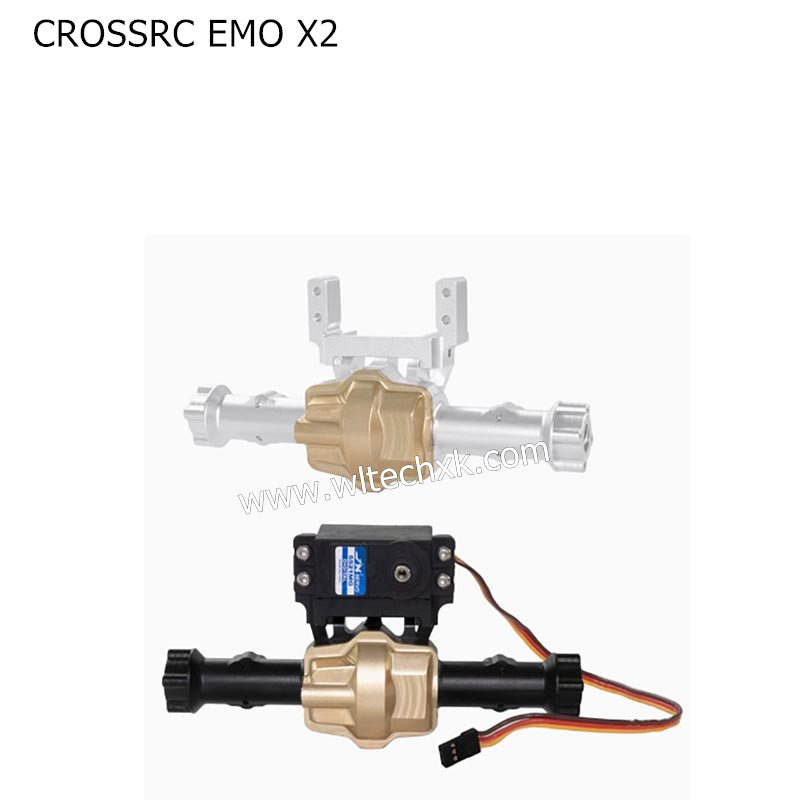
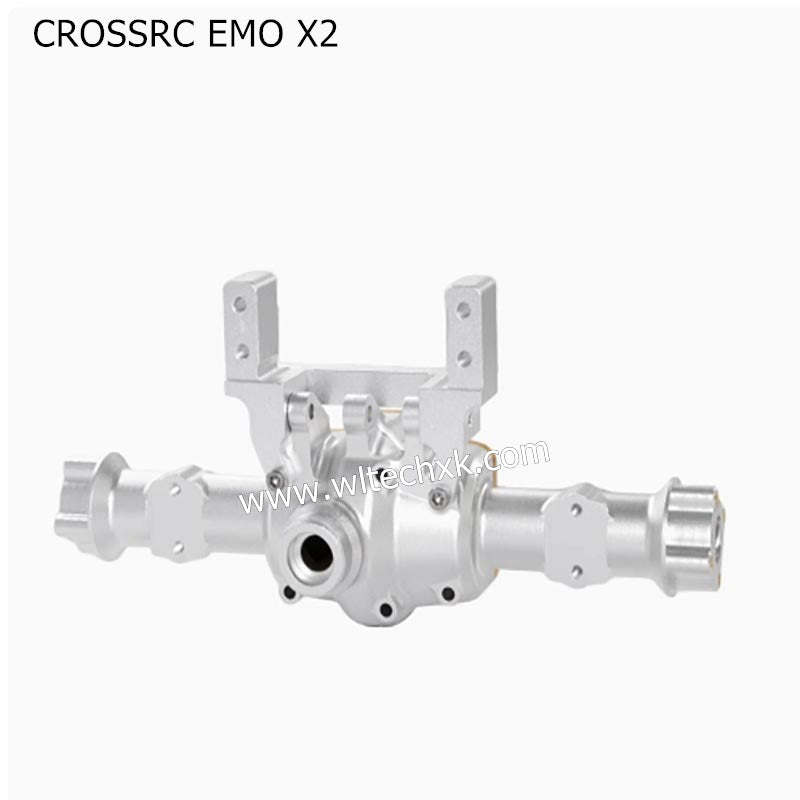
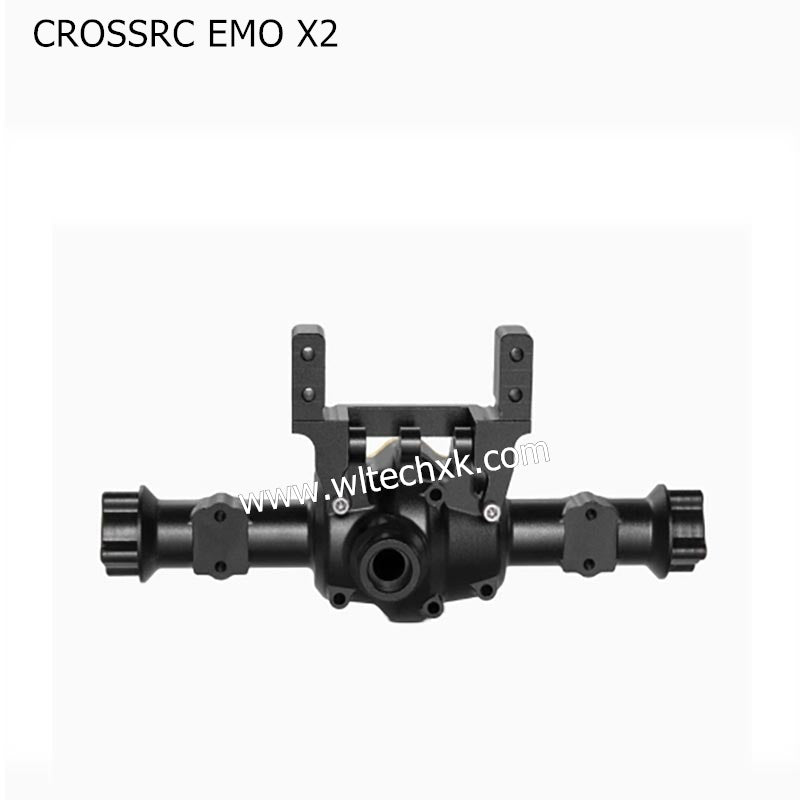
CROSSRC EMO X2 parts Low center of gravity layout (52:48 weight ratio), high-performance power (Hollywin 880 ESC + 560 high-power motor), full-stroke rudder protection system (zero-load servo), high-strength gate bridge (minus 30℃ cold resistance test), simulation lights (linkage + double flash mode), modular upgrade (high-voltage servo/remote control compatible), durable details (vacuum electroplating shock absorber rod + microfiber buffer).

How to install CROSSRC EMO X2 parts?

  1. Prepare tools and check the parts list to ensure that small parts such as screws and retaining rings are complete.
  2. Install the gate bridge assembly, fix the retaining ring after aligning the shaft hole, and adjust the gate bridge clearance.
  3. Connect the lighting system line, test the double flash, brake linkage and strobe mode.
  4. Connect the drive shaft and the hub adapter to confirm the adaptability of the 15mm inner diameter.
  5. Power on and debug the power system, adjust the servo stroke and test the dynamic balance of the wheel.

Get Download Apps
15% discount on your first purchase
img01