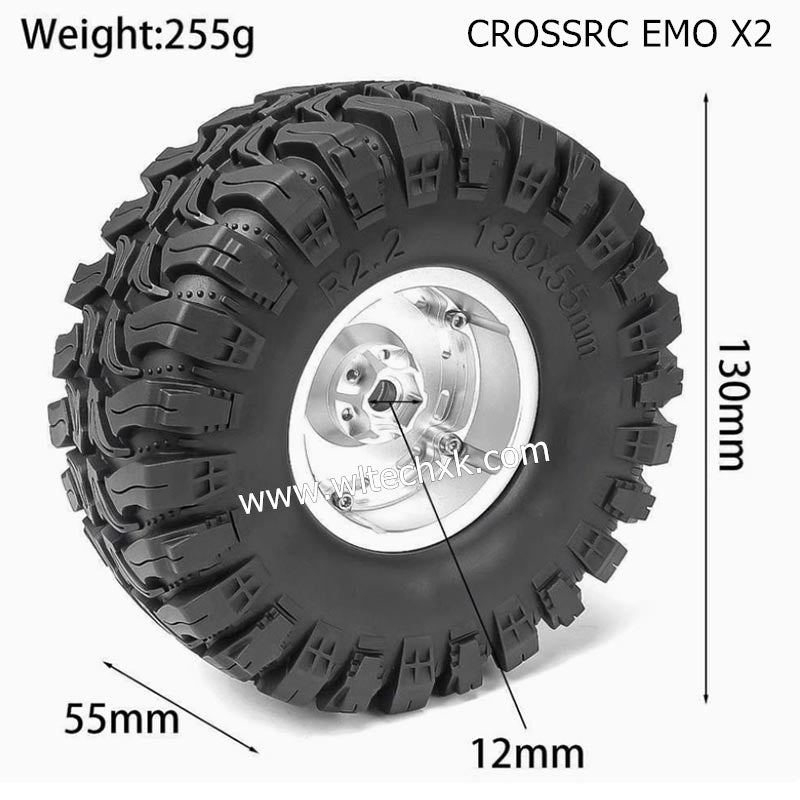
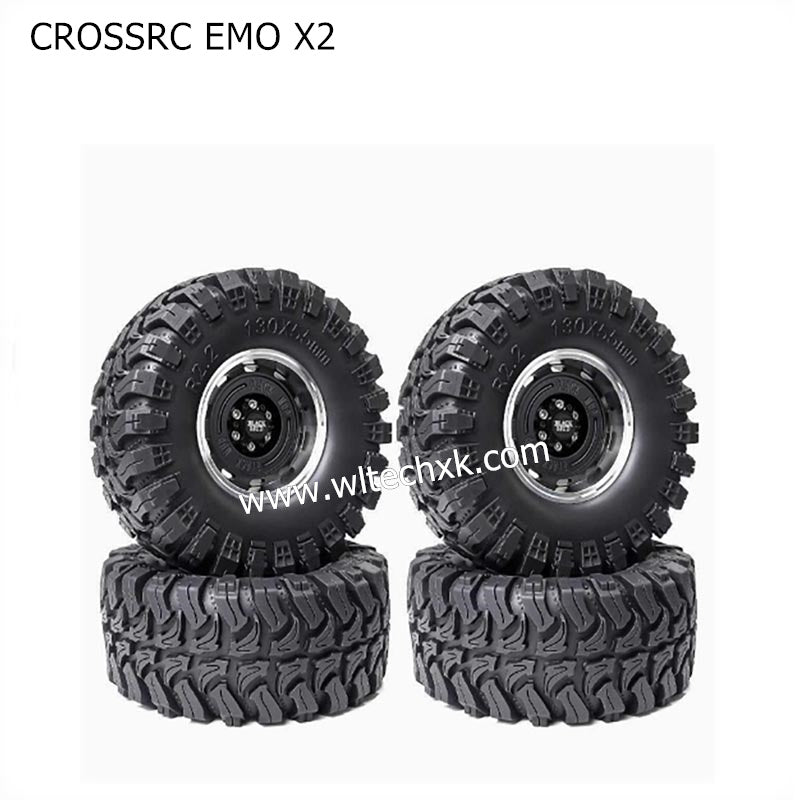
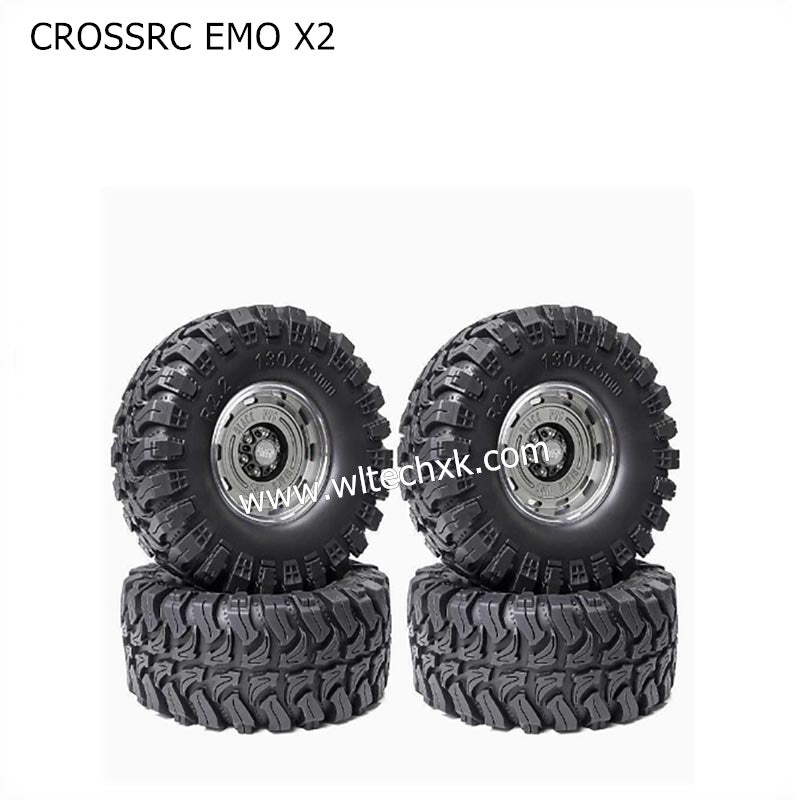
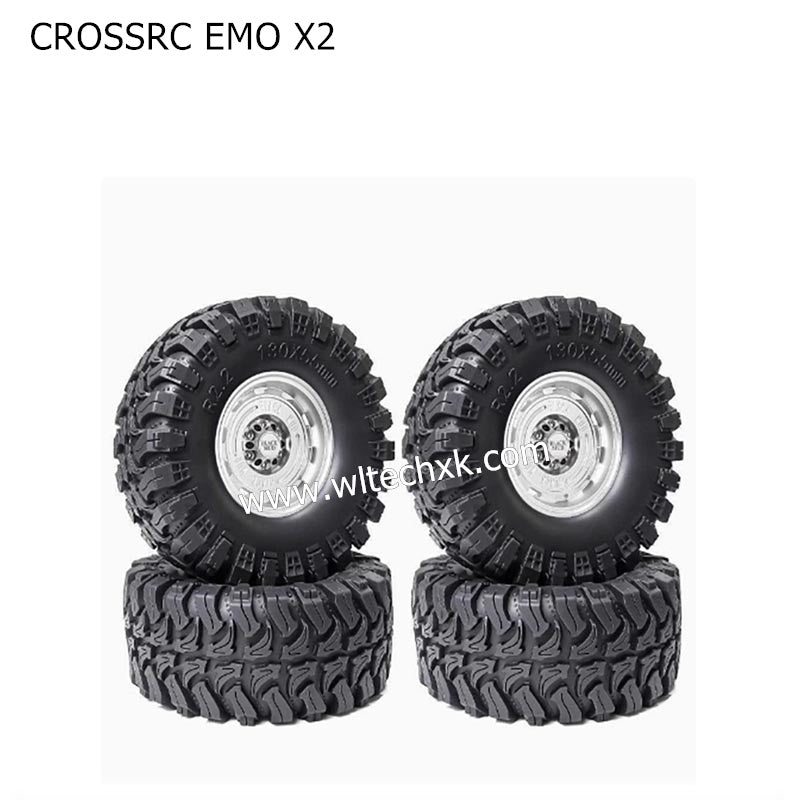
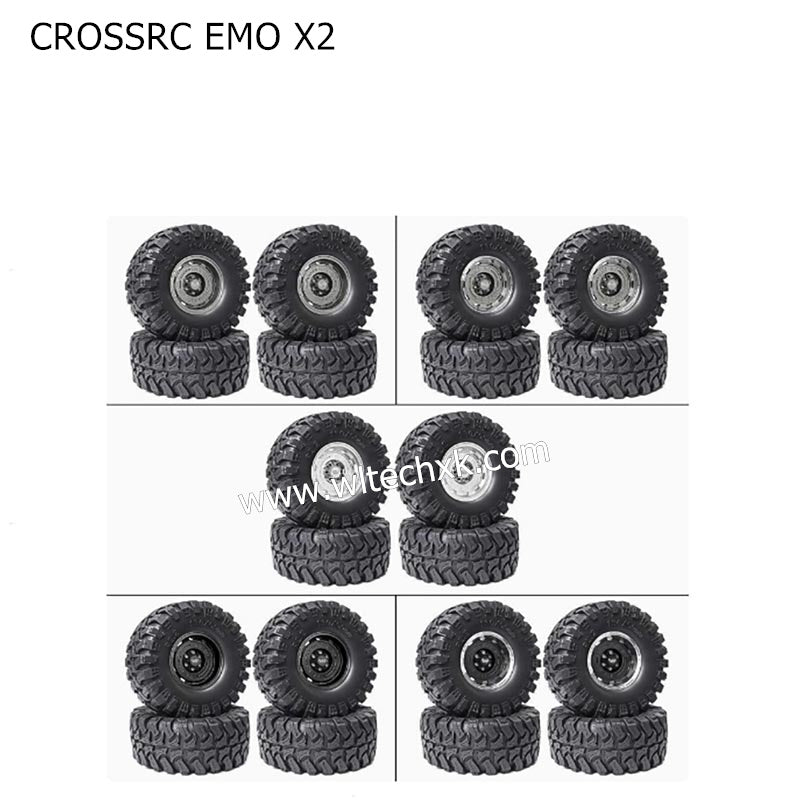
CROSSRC EMO X2 Parts 2.2 inch Black Mud Wheel Boots Tire
- Regular price
- $67.99
- Sale price
- $67.99
- Regular price
-
- Unit price
- per
Couldn't load pickup availability
Shipping & Returns
Free shipping and returns available on all orders!
We ship all US domestic orders within 5-10 business days!
size chart
Care Instructions
Use a soft damp cloth and a drop of mild soap to remove any haze. Air dry.
Svg Vector Icons : http://www.onlinewebfonts.com/icon
Share
About CROSSRC EMO X2 Parts:
- Product name: 2.2 inch Black Mud Wheel Boots Tire
- Model: EMO X2
- Brand: CROSSRC
- Product type: RC Parts
- Origin: Mainland China
- Product quantity: 1 set

What are the characteristics of CROSSRC EMO X2 parts?
CROSSRC EMO X2 parts Low center of gravity layout (52:48 weight ratio), high-performance power (Hollywin 880 ESC + 560 high-power motor), full-stroke rudder protection system (zero-load servo), high-strength gate bridge (minus 30℃ cold resistance test), simulation lights (linkage + double flash mode), modular upgrade (high-voltage servo/remote control compatible), durable details (vacuum electroplating shock absorber rod + microfiber buffer).

How to install CROSSRC EMO X2 parts?
- Prepare tools and check the parts list to ensure that small parts such as screws and retaining rings are complete.
- Install the gate bridge assembly, fix the retaining ring after aligning the shaft hole, and adjust the gate bridge clearance.
- Connect the lighting system line, test the double flash, brake linkage and strobe mode.
- Connect the drive shaft and the hub adapter to confirm the adaptability of the 15mm inner diameter.
- Power on and debug the power system, adjust the servo stroke and test the dynamic balance of the wheel.


